Pages

Tuesday, March 24, 2015

Thrown Together Meals


Teachers are known for, well, using what they already have, and I have learned that the same concept applies to our kitchens. There are weekends where I just don't want to leave home! And so, I try my best to use what is already in my kitchen. I like to call these "Thrown Together" meals, because I literally take what is in the pantry and throw it all together. Here is what was thrown together this past weekend....
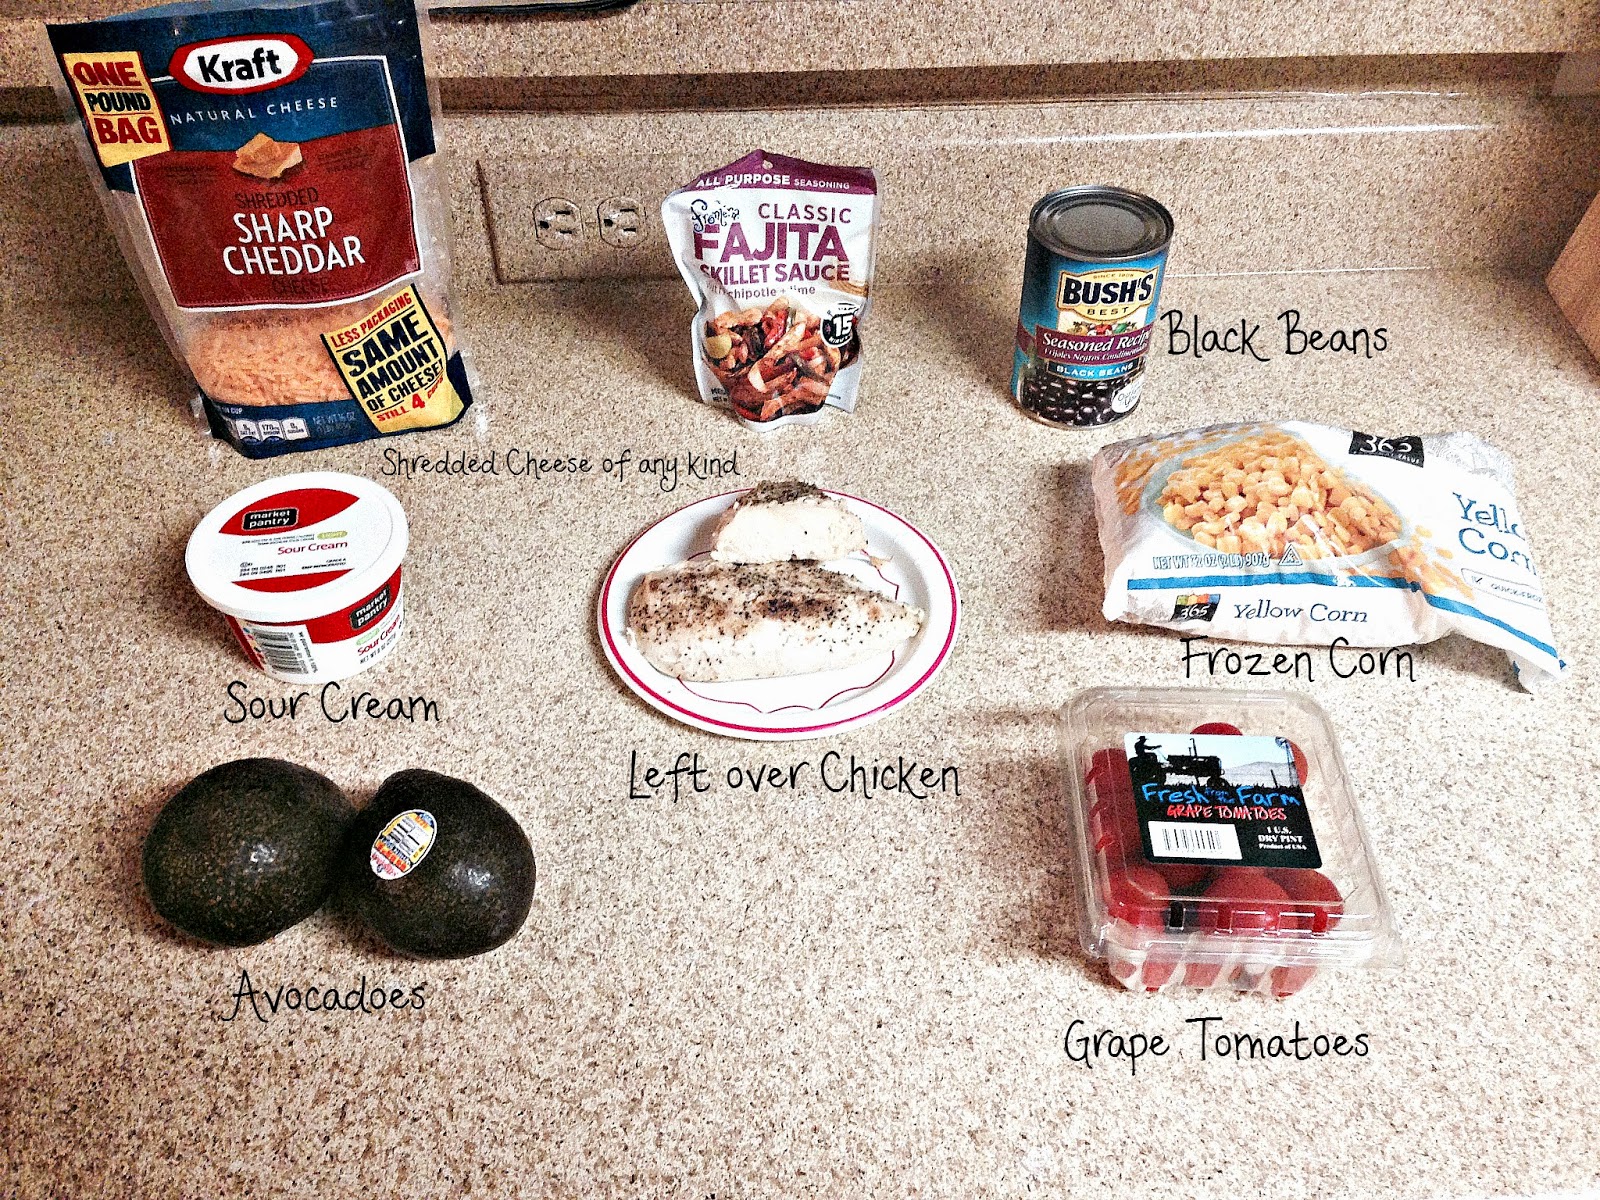

What you will NEED:


Step 1: Brown left over chicken. Once cooked, add your choice of sauce or seasoning.
Step 2: Layer chicken across the BOTTOM of a casserole dish. My favorite dishes are Le Creuset in   Plum.
Step 3: Layer in CORN, BLACK BEANS, TOMATOES (cut), and AVOCADO (sliced)
Step 4: Sprinkle with any cheese of your choosing.
Step 5: Bake in oven at 350 degrees (F) for about 15 minutes
Step 6: Enjoy with a dollop of sour cream!


Please let me know how it turned out for y'all!

Most Sincerely,
 
Katie

Monday, March 9, 2015

Classroom Arts and Crafts


I love snow days, not just because they are a nice break from a teacher's crazy schedule, but because I get so much done! I think we all have little projects we want to complete, but it's so hard to find the time. That's why we have snow days.

Last week, as it sleeted outside, I finally completed a classroom DIY project I had planned for weeks. I found two small canvases in my closet a few months ago, and wondered if they could be used for anything. I am always trying to find inexpensive (or free) resources and decorations for my classroom. I looked at the blank canvases, saw a large Sharpie pen, and suddenly thought... Why not write my favorite quotes?

If you have curly and cute handwriting, this is the craft project for you! It's a simple procedure, you just need patience and a steady hand. The prints are now displayed behind my computer at work so that I have a little inspiration every morning. Here are the steps I took:

1. Place blank canvas on newspaper for table protection. Paint white (acrylic) so that the canvas surface becomes smooth. I preferred three coats.

2. Trace a faint pencil mark of the quote you have chosen, if you are uncomfortable writing free-hand.

3. Use a large Sharpie Pen to create your bold quote print.

4. Add a little graphic underneath the wording.

5. If your school permits, use a hot glue gun and post to your wall.

Voila!

Sincerely Yours,
 
Katie